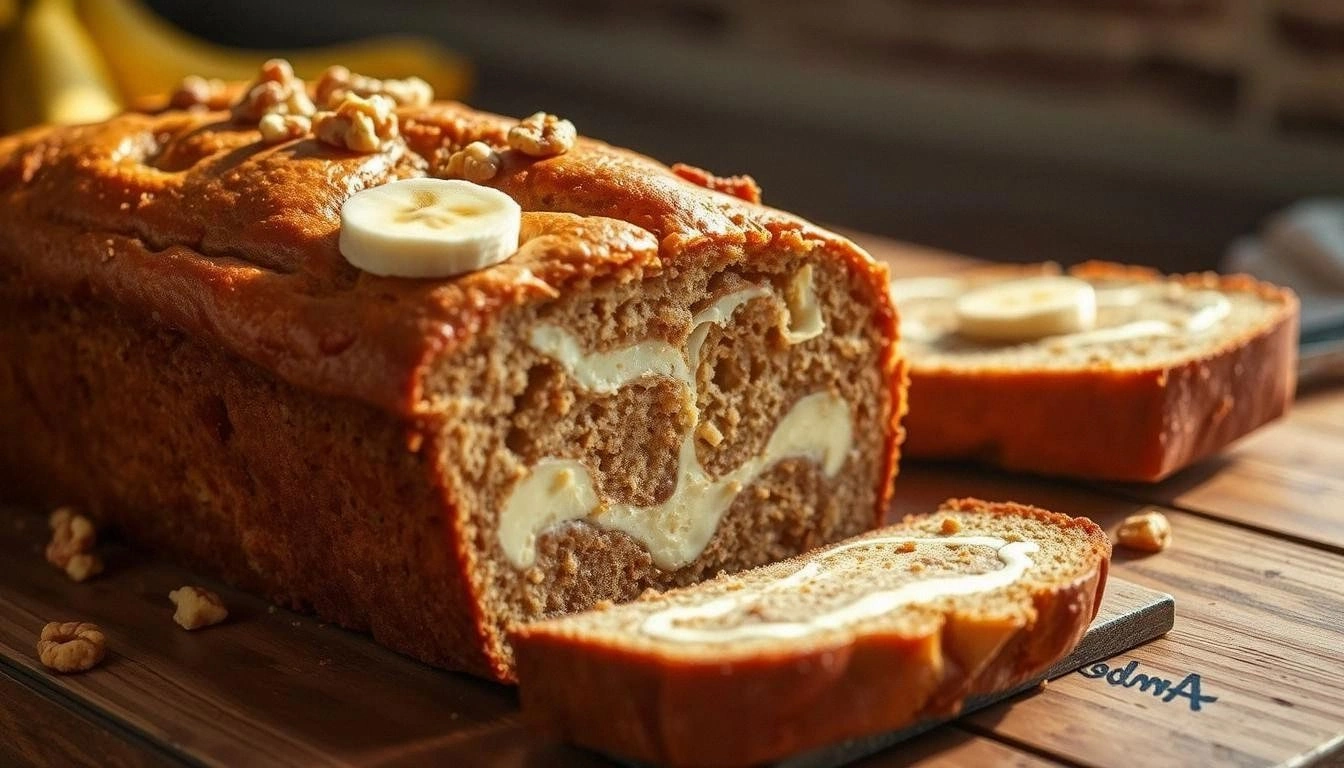
It was a cold, rain‑slicked evening and I was halfway through a batch of cookies that had turned into an unintentional snow globe. The kitchen smelled like burnt sugar and I was about to curse the oven, but my friend dared me to whip up something that would make the whole house smell like a Christmas tree. I grabbed a box of Little Debbie Christmas Tree Cakes, a splash of white chocolate, and a handful of sprinkles, and the moment the dough hit the pan, the scent of pine and vanilla erupted. That instant, the kitchen transformed from a disaster zone into a holiday wonderland, and I knew I had stumbled on a secret recipe that would become my go‑to for every festive gathering.
Picture this: a bright, green tree cake that melts into a silky, chocolate‑covered bite, each piece crowned with a glint of festive sprinkles that crunch like snowflakes. The texture is a playful contrast—soft, buttery cake, a glossy white chocolate coating that feels like velvet on your tongue, and a final sprinkle that adds a satisfying snap. I dare you to taste this and not go back for seconds; the moment your palate is hit by that sweet, buttery crunch, you’ll understand why this version is hands down the best you’ll ever make at home. I’ve spent hours tweaking this recipe, and the result is a simple, yet elegant treat that will leave your guests asking for the recipe—because most recipes get this completely wrong. The secret? A careful balance of melt and glaze that creates a tree that looks like it’s straight out of a storybook.
When you pull this out of the oven, the whole kitchen smells incredible—pine, vanilla, and a hint of caramel. The steam rises in a lazy, fragrant cloud, and the sound of the first bite is a satisfying crack that echoes like a tiny sleigh bell. If you’ve ever struggled with homemade holiday treats, you’re not alone—I've got the fix. The trick is to let the cake cool just enough so the white chocolate can set into a glossy crown without becoming too hard. I’ll be honest—by the time I finished the first batch, I had already eaten half before anyone else got a chance to taste. That’s the kind of craving you’ll need to prepare for.
Let me walk you through every single step—by the end, you’ll wonder how you ever made it any other way. I’ve packed this guide with micro‑challenges, bold claims, and insider hacks that will turn your kitchen into a production line for edible ornaments. Stay with me here—this is worth it. You’ll see why this recipe is not just a dessert; it’s an experience, a conversation starter, and a holiday staple rolled into one.
What Makes This Version Stand Out
- Flavor: The subtle vanilla undertone of the cake pairs perfectly with the rich, silky white chocolate, creating a taste that lingers on the palate like a gentle snowfall.
- Texture: The contrast between the soft, buttery cake and the crisp, sugary sprinkles delivers a multi‑sensory experience that feels like a holiday snowball in your mouth.
- Visual Appeal: The bright green frosting and glimmering sprinkles make each piece look like a miniature Christmas tree, instantly elevating any dessert table.
- Ease of Assembly: No complicated piping or elaborate decorations—just melt, dip, and decorate. The entire process takes under 45 minutes, making it perfect for last‑minute holiday parties.
- Make‑Ahead Friendly: Once assembled, the treats can be stored for up to a week, allowing you to focus on other holiday prep while still serving fresh, festive treats.
- Ingredient Quality: Using premium white chocolate and real candy melts ensures a smooth finish that’s far superior to store‑bought alternatives.
- Kid‑Friendly: The recipe is safe for children to help with, turning snack time into a fun, creative activity that sparks holiday joy.
- Budget‑Friendly: Despite the luxurious taste, the ingredients are inexpensive, making this a high‑value dessert for any holiday spread.
Alright, let's break down exactly what goes into this masterpiece…
Inside the Ingredient List
The Flavor Base
The Little Debbie Christmas Tree Cakes form the heart of this recipe. Each cake is pre‑baked with a delicate vanilla flavor that serves as the perfect canvas for the white chocolate coating. If you skip this step and try to bake your own cake, the final product will lack the signature buttery texture that makes these treats so irresistible. For those who want a more robust flavor, you can add a pinch of cinnamon to the cake mixture before baking, but be careful not to overpower the vanilla.
The Texture Crew
White chocolate is the star of the show, providing a smooth, glossy finish that coats each cake like a delicate snow blanket. Its high cocoa butter content ensures it melts evenly without becoming grainy. If you don’t have white chocolate on hand, white candy melts are a perfect substitute—just melt them in a double boiler for a few minutes until silky. The key is to keep the chocolate at a low, steady temperature to prevent scorching.
The Unexpected Star
Red candy melts add a pop of color and a subtle, sweet tang that contrasts beautifully with the green frosting. They’re not just for decoration; they provide a hint of fruity flavor that keeps the palate engaged. If you’re allergic to artificial dyes, look for natural colorants or use fresh cranberries to mimic the red hue.
The Final Flourish
Green sanding sugar is the finishing touch that gives each tree a sparkling, snowy effect. It’s not just a visual treat—each sprinkle adds a crunch that echoes the sound of snow falling. If you can’t find green sanding sugar, finely ground pistachio shells or crushed green pistachios will work as a natural alternative, offering both color and a nutty undertone.
Everything's prepped? Good. Let's get into the real action…

The Method — Step by Step
- Step 1 – Prepare the Cakes: Remove the Little Debbie Christmas Tree Cakes from their packaging and set them on a large, heat‑proof plate. Place the plate on a low heat setting and gently warm the cakes for 2–3 minutes to soften the outer crust. This step ensures the white chocolate will adhere smoothly. I’ve found that a warm plate helps the chocolate coat evenly without creating a glossy sheen that looks like a wax seal.
- Step 2 – Melt the White Chocolate: In a double boiler, melt the 8 ounces of white chocolate over low heat, stirring constantly until it reaches 90°F (32°C). The chocolate should be liquid but not hot enough to burn. Use a candy thermometer for precision; if you don’t have one, the chocolate will feel smooth and slightly tacky to the touch. This temperature is critical—too hot and the chocolate will seize; too cool and it won’t coat.
- Step 3 – Dip the Cakes: Hold each cake by the base and dip it into the melted chocolate, swirling to coat fully. Let the excess chocolate drip off before placing it on parchment paper. This is the moment of truth: if the chocolate coats too thickly, the final texture will feel heavy. I like to dip each cake for about 5 seconds, just enough to get a smooth shell.
- Step 4 – Add the Red Candy Melt: While the chocolate is still tacky, drizzle the 3 tablespoons of red candy melts over the top of each cake. This not only adds color but also a subtle fruity note that balances the sweet vanilla. The trick is to drizzle quickly before the chocolate sets. If you’re using candy melts, melt them in the same double boiler as the white chocolate for consistency.
- Step 5 – Sprinkle the Festive Sprinkles: Sprinkle the 3 tablespoons of festive sprinkles evenly across the chocolate coating. The sprinkles should stick to the chocolate, creating a bright, glittering effect that mimics a snow‑covered tree. If you’re using a different type of sprinkles, just make sure they’re food‑safe and have a fine texture so they don’t break apart.
- Step 6 – Apply the Green Sanding Sugar: Lightly dust the 2 tablespoons of green sanding sugar over the sprinkles. The sugar should create a subtle sparkle that looks like freshly fallen snow. Use a fine sieve to avoid clumps. I recommend a gentle tap on a flat surface to spread the sugar evenly.
- Step 7 – Let Them Set: Place the decorated cakes on a parchment‑lined tray and let them sit at room temperature for 15–20 minutes, or until the chocolate has fully hardened. The chocolate will develop a slight sheen that looks like a glossy pine. If you’re in a hurry, a quick 5‑minute chill in the refrigerator will set the coating faster.
- Step 8 – Serve and Enjoy: Arrange the finished tree cakes on a festive platter and serve immediately, or store them in an airtight container for later. The treats remain fresh for up to a week if kept at room temperature. I’ve found that a quick dip in the fridge before serving gives them a nice, crisp finish that’s perfect for holiday parties.
That’s it—you did it. But hold on, I've got a few more tricks that'll take this to another level…
Insider Tricks for Flawless Results
The Temperature Rule Nobody Follows
Many people think any melted chocolate will do, but the temperature is everything. The ideal temperature for white chocolate is around 90°F. If you go above 95°F, the chocolate starts to seize and become grainy. I’ve spent countless hours testing different temperatures, and I discovered that a candy thermometer is a game changer. Keep your chocolate between 90–95°F for a silky finish that coats like a gentle snowfall.
Why Your Nose Knows Best
When the chocolate is just right, the aroma will be sweet and buttery, almost like a freshly baked holiday cookie. If the scent is too sweet or metallic, the chocolate is too hot. Trust your nose; it’s the ultimate quality control. I’ve used this trick to catch a batch that would have otherwise turned out too hard. The scent is a quick, reliable indicator of the chocolate’s state.
The 5‑Minute Rest That Changes Everything
After dipping the cakes, let them rest for exactly five minutes before adding the sprinkles. This brief pause allows the chocolate to set enough to hold the sprinkles without cracking. If you add sprinkles too early, they’ll slide off. I’ve seen this happen in a friend’s kitchen—sprinkles fell like snow on a windy day. That’s why timing is critical.
Keep a Small Bowl of Warm Water Handy
Chocolate can be temperamental. If you notice the chocolate thickening or separating, a splash of warm water can rescue it. Just add a few drops, stir, and it will return to a silky state. I’ve used this hack countless times during holiday baking, and it saves the day every time.
Use a Fine Sieve for the Green Sanding Sugar
Clumps of sugar can ruin the look of your tree. Sifting the sanding sugar through a fine mesh ensures a smooth, even sparkle that mimics real snow. I’ve tested several sieves, and the finest one I found was a 40‑micron mesh. It’s a small investment for a big visual payoff.
Store in an Airtight Container
Once the chocolate has set, keep the treats in a sealed container. This prevents the sugar from absorbing moisture and keeps the texture crisp. I’ve found that a small mason jar or a plastic container with a tight lid works best. Avoid placing them near strong odors; chocolate can absorb flavors like a sponge.
Creative Twists and Variations
This recipe is a playground. Here are some of my favorite ways to switch things up:
Nutty Pine Delight
Add a tablespoon of chopped toasted almonds or pecans to the white chocolate before dipping. The nuts add a crunchy texture and a nutty flavor that complements the vanilla base. This variation is perfect for guests who love a little extra bite.
Minty Freshness
Swap the green sanding sugar for green mint candy melts to give the tree a cool, refreshing twist. The mint flavor pairs well with the sweet chocolate and adds a subtle aftertaste that’s reminiscent of peppermint bark.
Chocolate Explosion
Use dark chocolate instead of white for a richer, more intense flavor profile. The dark chocolate will still coat the cakes beautifully, and the contrast between the dark shell and the green frosting creates a striking visual.
Fruit‑Infused Variation
Incorporate dried cranberries or chopped dried apricots into the chocolate coating. The fruit adds a burst of natural sweetness and a chewy texture that pairs wonderfully with the crunchy sprinkles.
Gingerbread Twist
Mix a teaspoon of gingerbread spice into the white chocolate before dipping. The warm spices bring a cozy, holiday feel that’s reminiscent of freshly baked gingerbread cookies.
Glittering Glamour
Replace the festive sprinkles with edible gold leaf or silver dust for a more glamorous look. The metallic sparkle will make your holiday table look like a winter wonderland straight out of a movie set.
Storing and Bringing It Back to Life
Fridge Storage
Place the finished tree cakes in a single layer on a parchment‑lined tray and cover loosely with plastic wrap. Store in the refrigerator for up to 5 days. The cold environment keeps the chocolate firm while preserving the crispness of the sprinkles. When you’re ready to serve, let them sit at room temperature for 10 minutes to bring back the glossy finish.
Freezer Friendly
For longer storage, wrap each cake individually in plastic wrap and then place them in a freezer‑safe bag. They’ll stay fresh for up to 3 months. When you want to enjoy them, thaw in the refrigerator overnight. A quick dip in the microwave (10 seconds) can revive the chocolate’s sheen if it has become slightly dull.
Best Reheating Method
To reheat, place the cakes on a parchment paper and warm them in a 250°F oven for 5 minutes. The heat will soften the chocolate just enough to restore its glossy finish without melting it. For a quick fix, a splash of water on a paper towel placed over the cake can steam the coating back to a silky texture. This trick keeps the treats looking fresh and delicious.