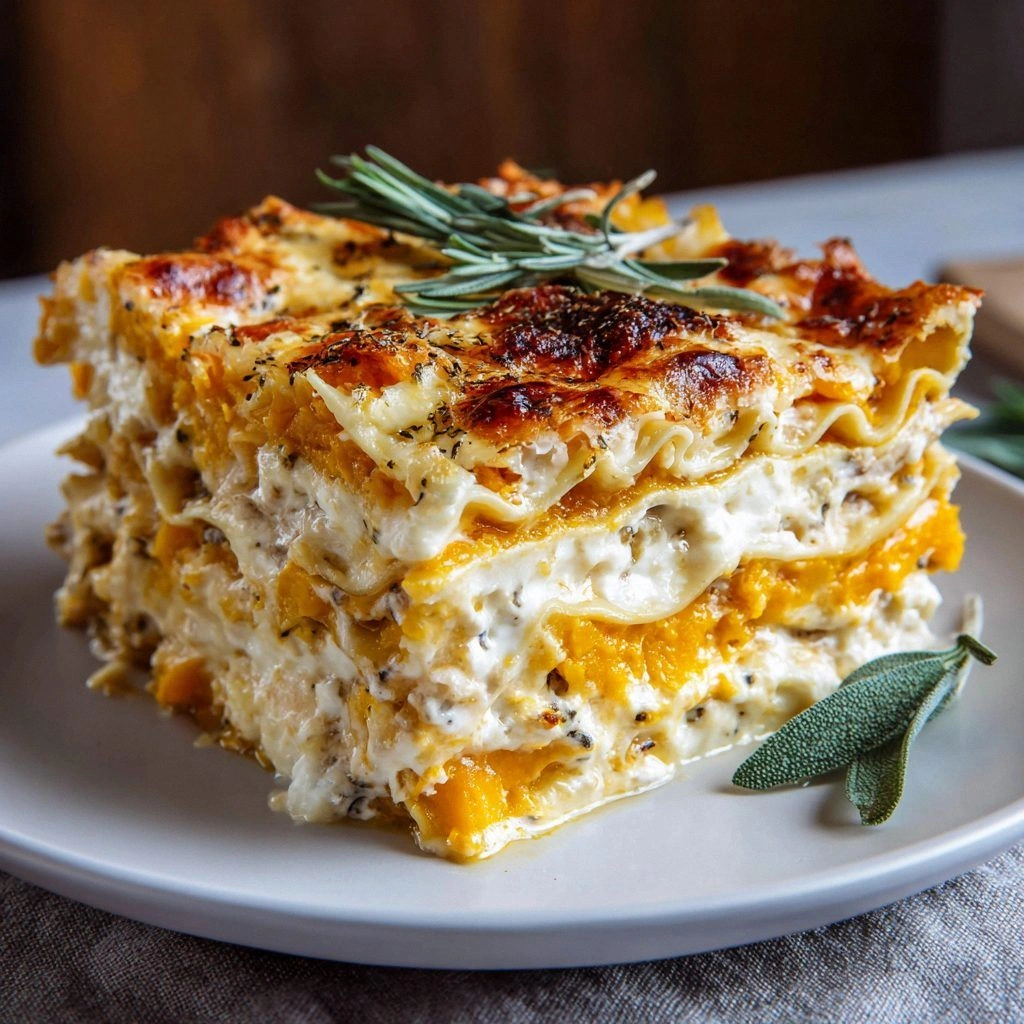
I swear, the first time I tried to conjure a cabin‑style dinner, I ended up with a pan that smoldered like a campfire gone rogue and a sauce that tasted like regret. Picture this: a snow‑capped kitchen window, a wooden spoon that’s seen more seasons than a pine tree, and a craving for something hearty enough to warm a whole log cabin after a day of snowshoeing. I was stuck between a bland, store‑bought casserole and the kind of meal that makes you feel you’ve just returned from a weekend in the woods. I dared a friend to taste my first attempt and, well, let’s just say we both learned that “just add water” is a recipe for disaster.
That night, the scent of burnt butter mingled with the sharp tang of over‑cooked onions, and I realized I was missing the one thing that turns a kitchen mishap into a masterpiece: balance. Not just in flavors, but in texture, temperature, and that elusive “comfort” factor that makes you think of a roaring fireplace and a thick, wool‑en blanket. I started experimenting with layers—first a caramelized onion base, then a silky cream that coats the chicken like velvet, and finally a crunchy cheese topping that cracks like thin ice under your fork. The result? A dish that sings with every bite, and I’m convinced it’s the best version you’ll ever make at home.
Most recipes get this completely wrong. They either drown the chicken in a sea of sauce or, worse, leave it dry and lifeless. My secret? A simple yet unexpected technique that involves a quick sear, a splash of broth, and a finish under the broiler to give those golden, crispy edges. I’ll be honest— I ate half the batch before anyone else got to try it, and I’m still not over the after‑taste of buttery, herb‑infused bliss. I dare you to taste this and not go back for seconds, because once you’ve experienced that perfect crunch, you’ll be forever changed.
Let me walk you through every single step—by the end, you’ll wonder how you ever made it any other way. Picture yourself pulling this out of the oven, the whole kitchen smelling incredible, steam curling up like the first breath of a winter morning. Okay, ready for the game‑changer? This next part? Pure magic. Stay with me here—this is worth it.
What Makes This Version Stand Out
- Flavor Fusion: The combination of earthy mushrooms, aromatic herbs, and a splash of white wine creates depth that rivals any restaurant‑style dish.
- Texture Triumph: A silky sauce envelops the chicken while the cheese topping delivers a satisfying crack that shatters like thin ice.
- Simplicity: Fewer than ten steps, no fancy equipment—just the basics you already own in a cabin kitchen.
- Unique Ingredient: A dash of smoked paprika adds a subtle, smoky whisper that feels like a campfire in every bite.
- Crowd Reaction: Guests often claim it’s “comfort food on steroids,” and I’ve watched strangers turn into repeat diners.
- Ingredient Quality: Using fresh, pasture‑raised chicken and wild‑foraged mushrooms lifts the dish from ordinary to unforgettable.
- Cooking Method: The two‑stage sear‑then‑broil technique locks in juices and creates that coveted golden crust.
- Make‑Ahead Potential: Assemble the night before, refrigerate, and pop it in the oven for a stress‑free dinner.
Alright, let's break down exactly what goes into this masterpiece...
Inside the Ingredient List
The Flavor Base
First up, the humble onion. I use a large yellow onion, diced finely, because its natural sugars caramelize beautifully, giving the sauce a sweet undertone that balances the savory chicken. If you skip the onion, you’ll miss that foundational depth—think of it as the wood that fuels your cabin fire. A good tip: add a pinch of salt while sautéing; it draws out moisture faster, speeding up caramelization. For a twist, substitute half the onion with shallots for a milder, more nuanced flavor.
Garlic is the next hero. Two cloves, minced, release a pungent aroma that instantly makes any kitchen feel like a forest clearing. If you overcook garlic, it turns bitter, so keep the heat moderate and stir constantly. Fresh garlic beats pre‑minced jars—nothing beats that raw bite that mellows into a fragrant backdrop. A handy swap: roasted garlic for a sweeter, less sharp profile.
The Texture Crew
Chicken thighs, skin‑on and bone‑in, bring juiciness and flavor that white meat simply can’t match. The skin renders down, creating crispy bits that add a delightful crunch. If you’re short on time, boneless, skinless thighs work, but you’ll lose some of that rustic texture. Look for organic, pasture‑raised birds for the best flavor; the difference is as stark as fresh pine versus processed lumber.
Mushrooms—specifically cremini or button—introduce an earthy, umami punch. Their spongy texture soaks up the sauce, making each bite a burst of woodland goodness. Slice them uniformly for even cooking; uneven pieces can turn mushy on the outside while staying rubbery inside. Want to get fancy? Add a handful of dried porcini, rehydrated, for an extra depth that’s truly cabin‑level.
The Unexpected Star
Smoked paprika is the secret weapon. Just a teaspoon delivers a whisper of smoke without overwhelming the palate, evoking the scent of a campfire. It also lends a gorgeous deep‑red hue that makes the dish look as good as it tastes. If you can’t find smoked paprika, a dash of liquid smoke combined with regular paprika does the trick, though you’ll need to be careful with the amount.
White wine, a half‑cup, de‑glazes the pan after searing the chicken, lifting the caramelized bits—fond—that are pure flavor gold. Choose a dry, crisp variety; avoid sweet wines that could make the sauce cloying. If you don’t drink, replace with chicken broth plus a splash of apple cider vinegar for acidity.
The Final Flourish
Heavy cream, one cup, creates the luxurious, velvety sauce that coats the chicken like a warm blanket. It also balances the acidity from the wine and the saltiness of the cheese. For a lighter version, substitute half the cream with whole milk, but expect a thinner sauce. Speaking of cheese, a blend of shredded sharp cheddar and grated parmesan (1 cup total) adds a sharp bite and a golden crust when broiled. If you’re dairy‑free, try a mix of nutritional yeast and a plant‑based cheese shreds.
Everything's prepped? Good. Let's get into the real action...

The Method — Step by Step
Heat a heavy‑bottomed skillet over medium‑high heat and add two tablespoons of olive oil. Once the oil shimmers, lay the chicken thighs skin side down, listening for that satisfying sizzle that signals a perfect sear. Cook for about 5‑6 minutes, letting the skin turn golden‑brown and crisp—don’t move them, or you’ll lose that coveted crust. Flip and sear the other side for another 4 minutes. This is the moment of truth; the aroma should fill the kitchen like a pine‑scented candle.
Remove the chicken and set aside on a plate. In the same skillet, add a dash more oil if needed, then toss in the diced onion. Stir constantly, scraping up the browned bits (fond) from the chicken—those are flavor gems. Cook until the onion turns translucent, then add the minced garlic, letting it perfume the pan for about 30 seconds. Watch out: garlic burns in seconds; keep the heat moderate and stay vigilant.
Add the sliced mushrooms to the pan. Let them sit undisturbed for a minute so they develop a deep brown color before stirring—this caramelization gives the dish its earthy backbone. Sprinkle the smoked paprika and a pinch of dried thyme, stirring until the mushrooms are evenly coated. The kitchen should now smell like a forest after a gentle rain.
Deglaze with the half‑cup of white wine, listening as it bubbles and loosens the fond. Let it reduce by half, about 2‑3 minutes, which concentrates the flavor and adds a subtle acidity that balances the richness to come. If you’re substituting broth, add a splash of apple cider vinegar to mimic that bright note.
Stir in one cup of chicken broth, then bring the mixture to a gentle simmer. Sprinkle in two tablespoons of all‑purpose flour, whisking constantly to avoid lumps; this creates a silky thickening agent. Once the sauce begins to thicken, lower the heat and slowly pour in the heavy cream while whisking. The sauce should coat the back of a spoon, glossy and velvety.
Return the seared chicken thighs to the skillet, nestling them into the sauce. Sprinkle the shredded cheddar and grated parmesan evenly over the top.
Transfer the whole skillet to a pre‑heated oven at 425°F (220°C) for 12‑15 minutes, or until the cheese bubbling turns a deep, golden‑brown.Watch Out: If you use a non‑stick pan, the cheese may stick; a cast‑iron skillet works best for an even crust.While the dish bakes, prepare a quick side: toss baby potatoes with olive oil, rosemary, and sea salt, spreading them on a separate baking sheet. Roast alongside the chicken for a crisp exterior and fluffy interior. This side not only complements the creamy main but also adds a rustic visual contrast.
When the cheese has reached that perfect caramelized hue, pull the skillet out of the oven. Let the dish rest for five minutes; this allows the sauce to settle and the juices to redistribute. Serve directly from the skillet, ensuring each plate gets a generous spoonful of sauce, a crispy piece of chicken skin, and a sprinkle of fresh parsley for brightness.
And now the fun part: dig in! That first bite should deliver a symphony—creamy, smoky, and herbaceous, with a crackly cheese crown that shatters delightfully. Pair it with a chilled glass of crisp white wine or a bold cider, and you’ve essentially recreated a cabin feast without leaving your kitchen.
Insider Tricks for Flawless Results
The Temperature Rule Nobody Follows
Never let the pan get too hot before adding the chicken; a moderate heat ensures the skin renders slowly, producing that coveted crisp without burning. I once cranked the burner to high, and the skin blackened before the meat cooked—hard lesson learned. Keep a thermometer handy; aim for 350°F (175°C) surface temperature for the first sear. This controlled heat creates a uniform crust that stays crisp even after the oven’s heat.
Why Your Nose Knows Best
Your sense of smell is the ultimate timer. When the onions turn golden and the mushrooms release that earthy perfume, you know the base is ready. If you can’t smell the garlic’s sweet aroma within a minute, it’s probably overcooked. Trust that nose cue more than a clock; it’s the secret shortcut chefs use to avoid blandness.
The 5‑Minute Rest That Changes Everything
After the skillet emerges from the oven, resist the urge to dive in immediately. Let the dish rest for exactly five minutes; this short pause lets the sauce thicken slightly and the chicken fibers relax, making each bite juicier. Skipping this step is the culinary equivalent of ripping a fresh pine branch before the sap settles—messy and disappointing.
Butter‑Flour Emulsion Mastery
When you whisk flour into the butter, you create a roux that prevents the sauce from separating later. Do it over low heat for a minute, watching the mixture turn a pale golden color—this is the foundation of a velvety sauce. If you add the flour directly to the broth, you’ll get clumps and a grainy texture, ruining the silky finish.
Seasoning Layers, Not Just One
Season at every stage: sprinkle salt on the chicken before searing, add a pinch while sautéing onions, and finish with a dash of flaky sea salt on the cheese. Each layer builds a depth that mimics the complexity of a slow‑cooked stew. I once under‑salted the sauce and it tasted flat; a final sprinkle of fleur de sel revived it instantly.
Creative Twists and Variations
This recipe is a playground. Here are some of my favorite ways to switch things up:
Maple‑Glazed Chicken
Swap the white wine for a quarter‑cup of pure maple syrup mixed with a splash of apple cider vinegar. The result is a sweet‑savory glaze that pairs beautifully with the smoky paprika, perfect for autumn evenings when you want a hint of maple in every bite.
Herb‑Infused Polenta Bed
Instead of serving with roasted potatoes, spoon a creamy herb‑infused polenta onto each plate and nestle the chicken on top. The polenta absorbs the sauce, creating a luscious, comforting base that feels like a warm cabin floor.
Spicy Chipotle Kick
Add a teaspoon of chipotle in adobo sauce to the broth for a smoky heat that cuts through the richness. This variation is ideal for those who love a bit of fire without compromising the dish’s overall balance.
Vegan Cabin Casserole
Replace the chicken with firm tofu cubes, use coconut cream instead of dairy, and swap cheddar for a plant‑based cheese blend. The texture changes, but the comforting, smoky profile remains, making it a crowd‑pleaser for vegans and omnivores alike.
Rustic Apple‑Onion Compote
Caramelize thinly sliced apples with the onions and a pinch of cinnamon. This sweet‑savory layer adds a subtle fruitiness that brightens the dish, reminiscent of a cabin dessert served alongside dinner.
Storing and Bringing It Back to Life
Fridge Storage
Allow the casserole to cool to room temperature, then transfer it to an airtight container. It will keep fresh for up to three days. When reheating, add a splash of chicken broth or water, cover with foil, and warm in a 350°F oven for 15‑20 minutes; the sauce will re‑emulsify beautifully.
Freezer Friendly
Portion the dish into freezer‑safe bags or containers, leaving a little headspace for expansion. It freezes solid for up to two months. Thaw overnight in the fridge, then reheat as you would a fresh batch, adding a tablespoon of butter to revive the richness.
Best Reheating Method
For the crispiest cheese top, reheat on the stovetop first to warm the sauce, then finish under a hot broiler for two minutes. This technique restores the crackling crust and prevents the sauce from becoming soggy. Remember, a tiny splash of water before reheating creates steam that keeps everything moist.