I remember the night the original Twix bars fell apart in my hands, leaving a sticky mess on the counter and a bitter taste of disappointment. I was standing in a cramped kitchen, the scent of chocolate lingering, when my friend dared me to create a healthier version that still felt like the real deal. The challenge sparked a culinary rebellion, and I set out to craft something that would make the real Twix jealous. The result? A bar that melts in your mouth, with a caramel‑like crunch and a chocolate finish that’s as indulgent as it is wholesome.
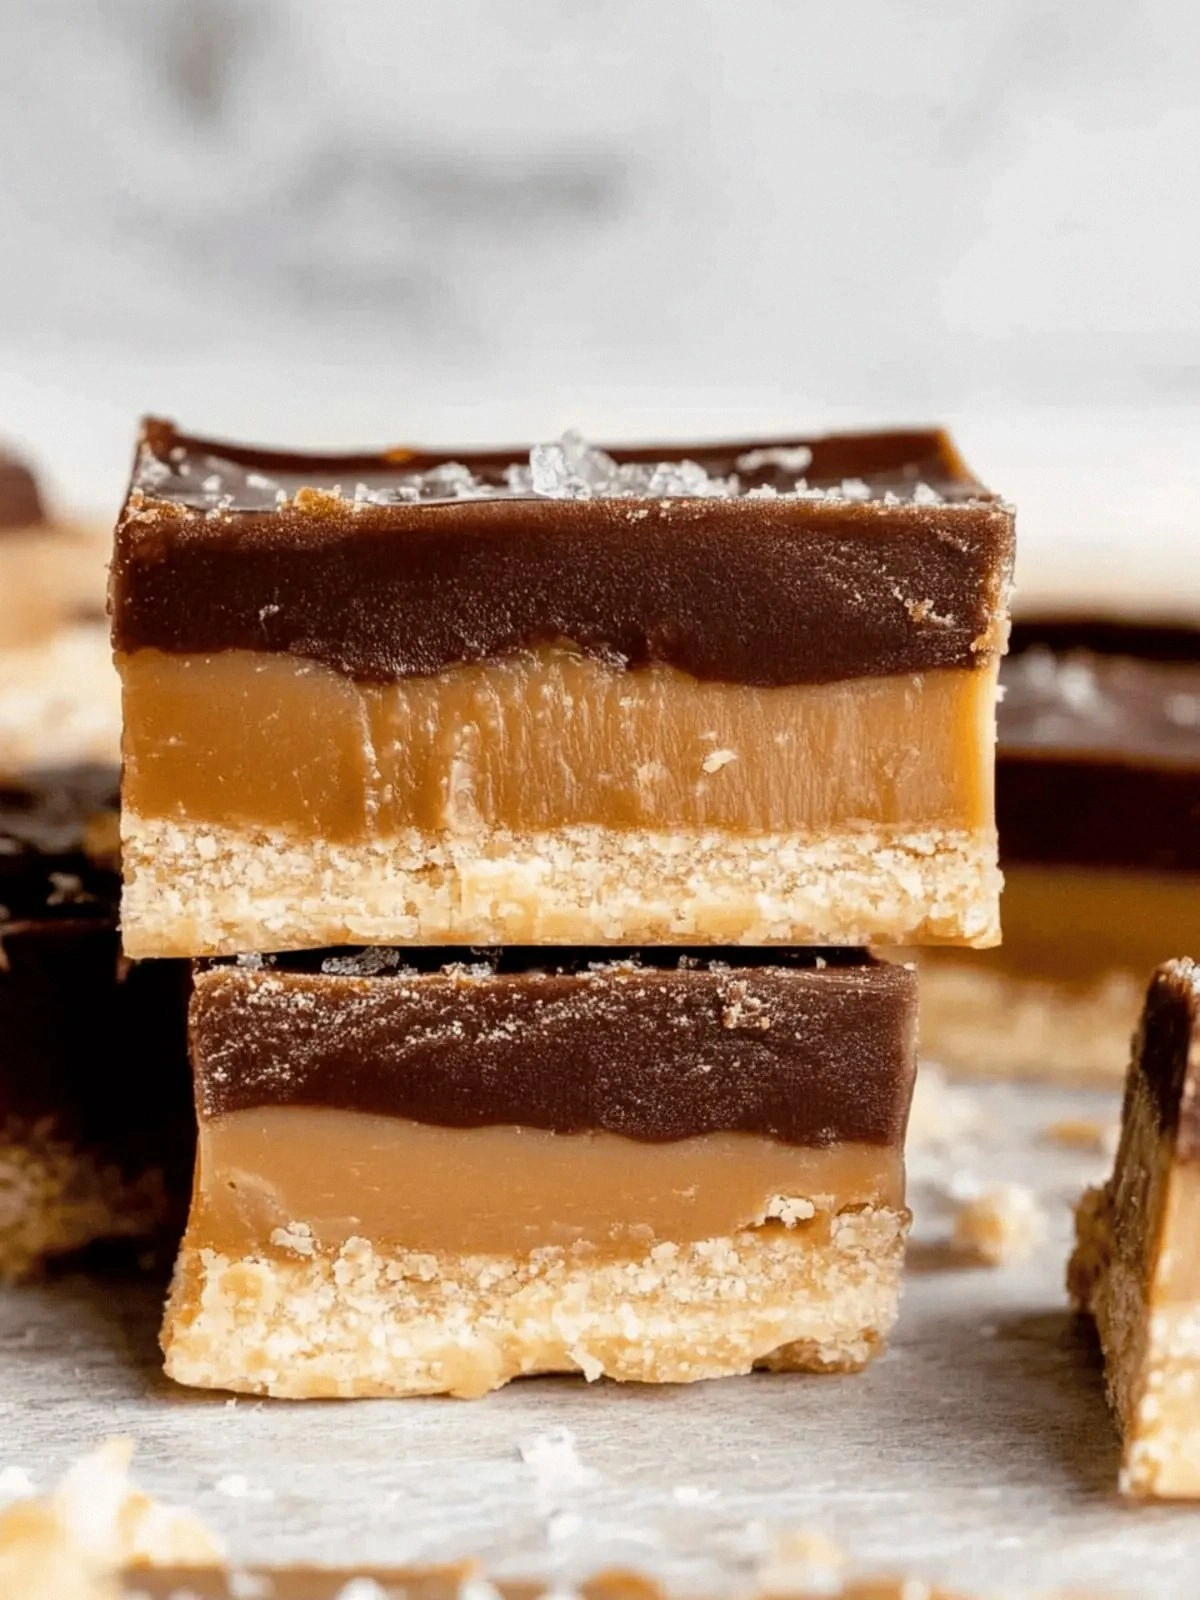
Picture this: a golden crust that crackles when you bite, a sweet, buttery center that oozes like a caramel dream, and a dark chocolate coating that feels like a velvet curtain. The aroma of toasted coconut and almond butter rises, mingling with the faintest hint of vanilla. You can hear the subtle sizzle as the mixture cooks, and the texture is a playful contrast between a chewy base and a crisp chocolate shell. When you take that first bite, your taste buds are greeted by a sweet, nutty burst, followed by a lingering chocolate finish that feels like a secret handshake with your cravings.
What makes this version stand out is that I didn’t just replace ingredients; I reimagined the entire experience. I swapped refined flour for coconut flour and almond flour, added natural sweeteners like honey and maple syrup, and used almond butter for that silky, nutty richness. The result is a healthier bar that still feels indulgent, with a texture that’s chewy yet not gummy, and a flavor profile that hits all the right notes. I dare you to taste this and not go back for seconds—because once you’ve had one, the rest will feel like a guilty pleasure you’re proud to indulge in.
If you’ve ever struggled to find a sweet treat that satisfies without the guilt, you’re not alone. I’ve been there, reaching for the candy aisle and feeling the tug of regret. This recipe is a game‑changer. Picture yourself pulling this out of the pan, the whole kitchen smelling incredible, and the anticipation building as the chocolate starts to set. And now, let’s walk through every single step—by the end, you’ll wonder how you ever made it any other way.
What Makes This Version Stand Out
- Flavor: The combination of honey, maple syrup, and almond butter creates a complex sweetness that mimics caramel without the added sugar. The dark chocolate coating provides a rich, slightly bitter finish that balances the sweetness perfectly.
- Texture: Coconut flour gives the base a firm yet chewy structure, while almond flour adds a subtle nutty crunch. The chocolate shell hardens into a satisfying snap that breaks cleanly.
- Health Profile: By using natural sweeteners and healthy fats, the bars are lower in refined carbohydrates and higher in fiber and omega‑3s. This makes them a better option for anyone watching their blood sugar or heart health.
- Convenience: The recipe takes less than an hour from prep to bake, and the bars can be made ahead and stored in the fridge or freezer for weeks.
- Crowd Appeal: Whether you’re hosting a brunch or packing a lunch, these bars are a conversation starter. Their look and taste are so close to the original that even the most discerning chocolate lovers will be impressed.
- Ingredient Quality: Each component is chosen for its flavor and nutritional benefits—coconut flour for its fiber, almond butter for protein, and dark chocolate for antioxidants.
Alright, let’s break down exactly what goes into this masterpiece…
Inside the Ingredient List
The Flavor Base
Honey and maple syrup are the sweet heart of these bars, providing natural sugars that caramelize beautifully during baking. Honey’s floral undertones pair with maple’s earthy sweetness, creating a depth that vanilla alone can’t achieve. If you’re vegan, swap honey for agave syrup or a drizzle of coconut nectar; the result will still be luscious, just a touch lighter.
The Texture Crew
Coconut flour, known for its high fiber content, acts as a binding agent that keeps the bars from becoming overly crumbly. Almond flour adds a subtle crunch and a nutty flavor that complements the almond butter. Together, they form a base that’s chewy but not sticky, ensuring each bite is a delight.
The Unexpected Star
Almond butter is the secret weapon that brings moisture and a creamy, buttery note to the bars. Its healthy fats and protein content make the bars more satiating, so you won’t feel guilty after the first bite. For a dairy‑free twist, use cashew butter; it’s milder and will still hold the bars together.
The Final Flourish
The dark chocolate bar is the finishing touch that gives these bars their iconic Twix appearance. Choosing a high‑cocoa dark chocolate (70% or higher) ensures a bold flavor without the need for added sugar. If you prefer a sweeter finish, a milk chocolate bar will give you a classic, creamy coating, but keep in mind the extra sugar content.
Everything’s prepped? Good. Let’s get into the real action…
The Method — Step by Step
- Preheat your oven to 350°F (175°C) and line a 9×9‑inch baking pan with parchment paper. The parchment will prevent sticking and make clean‑up a breeze. As the oven warms, you’ll notice a faint scent of toasted coconut; that’s the first hint of what’s to come.
- In a medium bowl, whisk together the coconut flour, almond flour, and a pinch of sea salt until fully incorporated. The dry mix should feel slightly gritty, but that’s normal. If it feels too dry, add a teaspoon of almond milk to bring it to a crumbly consistency.
- In a separate saucepan, melt the coconut oil over medium heat. Add the honey, maple syrup, and vanilla extract, stirring until the mixture is smooth and glossy. Let it simmer for a minute so the flavors meld together—this is where the caramel magic begins.
- Remove the saucepan from heat and fold in the almond butter until the mixture is silky. The almond butter will add body and help bind the bars together. If the mixture feels too thick, a splash of coconut milk can help thin it out.
- Combine the wet and dry ingredients, stirring until you have a thick, cohesive batter. The batter should be thick enough to hold its shape when scooped. If it’s too runny, add a tablespoon of coconut flour to thicken.
- Press the batter evenly into the prepared pan, using a spatula or the back of a spoon to smooth the surface. A firm press ensures the bars set properly and don’t crumble when you cut them.
- Bake for 25–30 minutes, or until the edges turn golden brown and a toothpick inserted in the center comes out clean. The smell of toasted nuts and caramel will fill the kitchen, making you feel like a pastry chef.
- While the bars are still warm, melt the dark chocolate in a double boiler or microwave, stirring every 30 seconds until smooth. The warm bars will act as a mold for the chocolate, creating a glossy finish.
- Drizzle or pour the melted chocolate over the bars, letting it cascade down the sides. Use a spatula to spread it evenly, ensuring every inch is coated. Let the chocolate set for 5 minutes before cutting.
- Once the chocolate has firmed, slice the bars into squares or rectangles. The cuts should be clean—if they’re jagged, the bars may crumble. Store in an airtight container in the fridge for up to a week.
That’s it—you did it. But hold on, I’ve got a few more tricks that’ll take this to another level. These small adjustments can elevate the flavor profile, improve texture, and make the bars even more irresistible.
Insider Tricks for Flawless Results
The Temperature Rule Nobody Follows
Many people bake these bars at 375°F, which can cause the chocolate to burn and the base to become too dry. I’ve found that 350°F is the sweet spot, giving the bars a golden crust while keeping the center moist. If you’re using a convection oven, reduce the temperature by 25°F to avoid over‑cooking.
Why Your Nose Knows Best
When the bars bake, the scent of toasted coconut and almond butter will start to rise. Trust that aroma; it signals the bars are ready to be removed from the oven. If you’re unsure, use a toothpick—it should come out clean. The smell is a reliable indicator of doneness.
The 5‑Minute Rest That Changes Everything
Letting the bars rest for five minutes after removing them from the oven allows the flavors to settle and the chocolate to set properly. During this time, the caramel center will firm slightly, making the bars easier to slice. If you cut them too early, they’ll crumble.
The Chill Factor
After the chocolate sets, place the bars in the fridge for 15 minutes before cutting. The cold will help the chocolate firm up, giving a crisp snap when you bite. If you’re in a hurry, you can skip the chill, but the texture will be softer.
The Sweet Spot for Sweetness
If you prefer a sweeter bar, add a tablespoon of honey to the batter. For a less sweet version, reduce the honey by a tablespoon and increase the maple syrup slightly. The key is balance—too much honey can overwhelm the nutty flavor.
The Final Touch
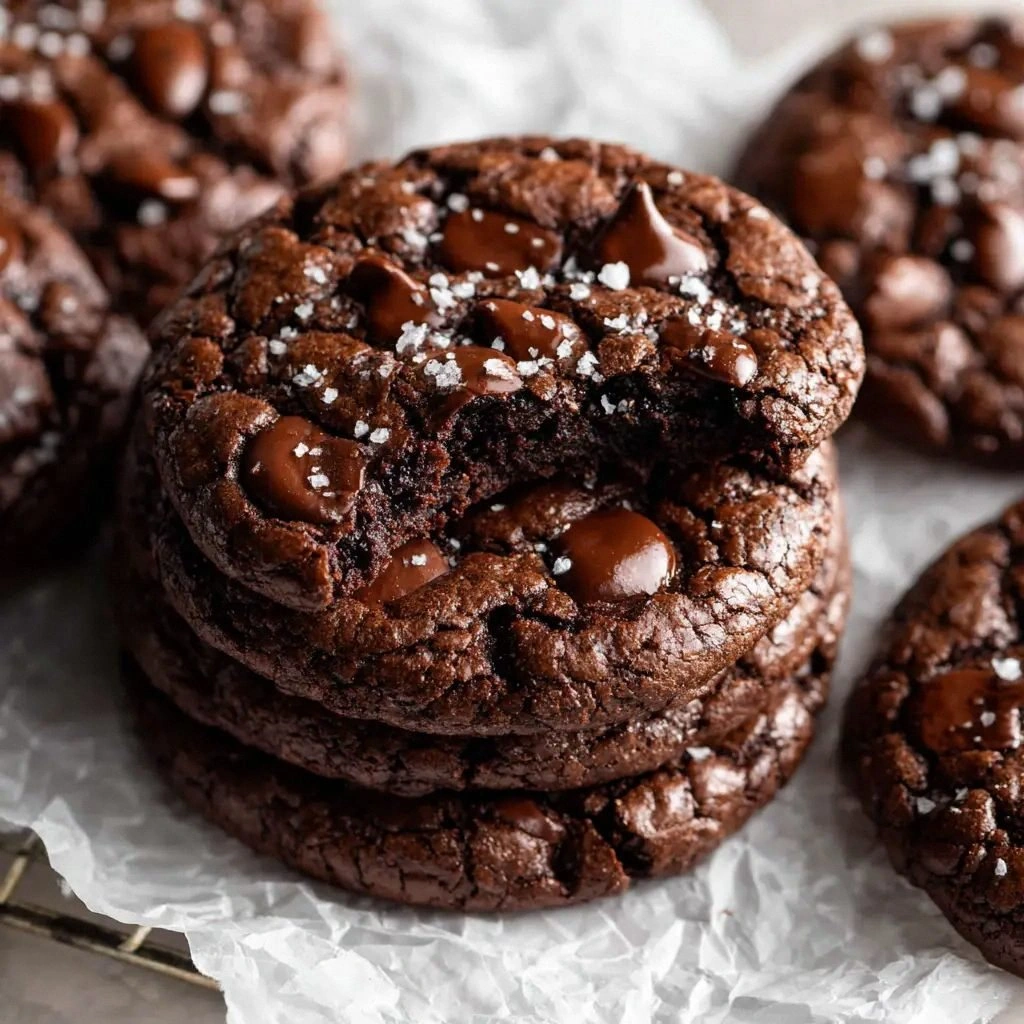
A sprinkle of sea salt on top of the chocolate before it sets can enhance the chocolate’s flavor and add a subtle crunch. This is a classic technique used in many chocolate recipes to bring out the richness.
Creative Twists and Variations
This recipe is a playground. Here are some of my favorite ways to switch things up:
Coconut‑Crunch Twist
Add a handful of shredded coconut to the batter for extra texture. The coconut will give a beachy flavor and a satisfying bite. Perfect for summer gatherings.
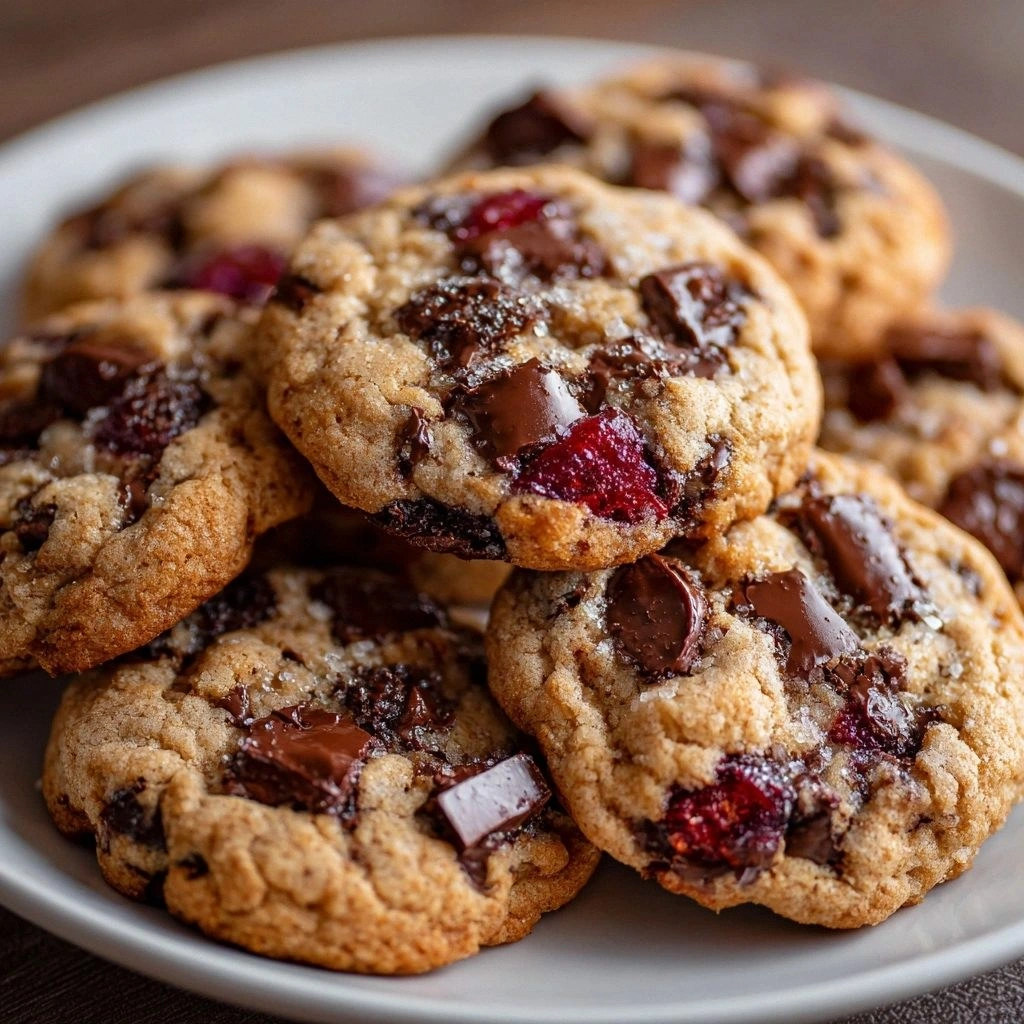
Berry Boost
Fold in a cup of fresh blueberries or dried cranberries before baking. The berries add a burst of tartness that cuts through the sweetness. Serve chilled for a refreshing treat.
Spiced Edition
Sprinkle a pinch of cinnamon and a dash of nutmeg into the batter. The spices create a warm, comforting flavor profile, ideal for fall or holiday parties.
Peanut Butter Power
Swap almond butter for peanut butter to give the bars a richer, more robust nutty taste. Peanut butter also adds a slight saltiness that complements the chocolate.
Chocolate‑Covered Peanut
After the chocolate sets, dip each bar in a second layer of melted chocolate. This extra coating gives a glossy finish and a richer chocolate flavor. Let them cool on parchment before serving.
Minty Fresh
Add a teaspoon of peppermint extract to the batter for a cool, minty finish. The mint pairs beautifully with dark chocolate, creating a classic combination reminiscent of peppermint bark.
Storing and Bringing It Back to Life
Fridge Storage
Store the bars in an airtight container in the refrigerator for up to a week. The cold environment keeps the chocolate from melting and preserves the chewy texture. When ready to eat, let them sit at room temperature for 10 minutes for the best flavor.
Freezer Friendly
For longer storage, wrap each bar in parchment paper and place them in a freezer bag. They will stay fresh for up to three months. Thaw in the fridge overnight before enjoying.
Best Reheating Method
If the bars feel a bit hard after storage, gently warm them in the microwave for 10–15 seconds. Adding a tiny splash of water before reheating steams the bars back to perfection, restoring their moistness.